Constructional Analysis Tests
- Posted by doEEEt Media Group
- On April 26, 2022
- 0
To support our customers, who need to achieve high quality and reliable procedures and products, ALTER Technology offers Constructional Analysis. This complete service provides a deep understanding of the technologies used during the manufacturing process, information about the construction of their device and helps identify potential weaknesses or factors that should be improved (e.g., missing parts).
As with the DPA test and Failure Analysis test, it is essential to specify that the Constructional Analysis is not a test itself but a complete series of tests where the devices go through a thorough examination.
Constructional Analysis Tests: A series of tests that are widely used to verify the quality of a lot produced
Some of the typical tests included in the Constructional Analysis process are:
Material Analysis is performed to detect and identify the materials used in the manufacturing of semiconductors and microelectronic parts and packages. So, why is material analysis important? This analysis detects prohibited materials, especially in the lead finish, to identify potential reliability issues such as undesirable whisker growth caused by pure tin finishes. Lead finish validation for every component type to be soldered is essential to determine the correct soldering profile.
Dimensions and weight check: Dimensions and weight checks are operations necessary to compare the actual dimensions and weight to those stated in the specifications. The purpose of the inspection is to detect manufacturer deviations and handling damages that could affect the device assembly and its final application
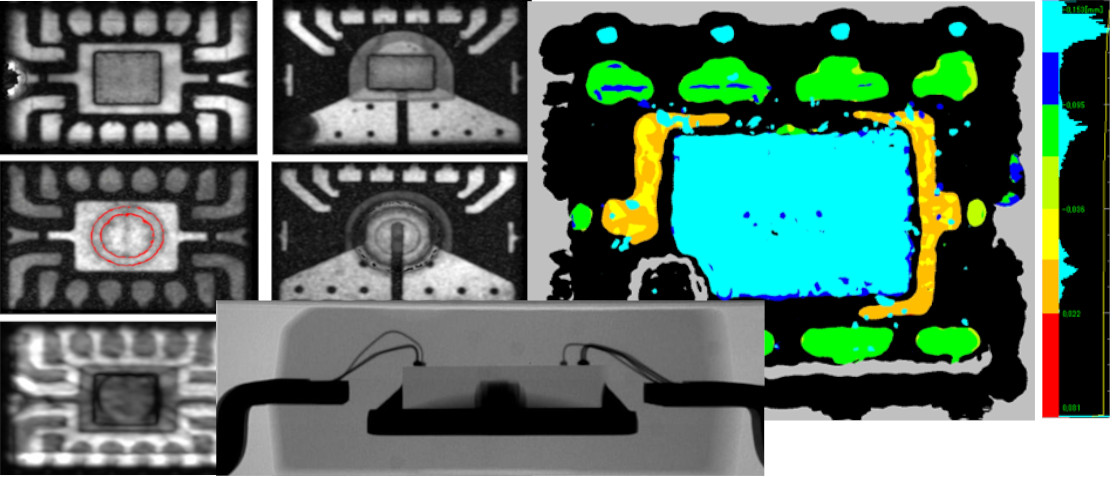
Scanning Acoustic Microscopy (SAM)
Accidental constructional failures (missing parts) and materials defects can critically compromise the performance of encapsulated microelectronics parts. Therefore, reliable non-destructive testing tools are essential for identifying and screening internal defects in encapsulated systems.
Scanning Electron Microscope (SEM): What is a scanning electron microscope SEM used for? This tool allows for analyzing the design, construction, or handling of defects. It can be used to check the interconnect metallization on the integrated circuit: metal step coverage, etc., or perform an in-depth technology study: reverse engineering, die cross-sectioning, failure analysis, etc.
Focus Ion Beam (FIB) inspection: Alter Technology performs FIB using an FEI top-model Dual microscope. The SEM column (Elstar XHR immersion lens FESEM column) has a resolution of 0.8nm at 15kV and 0.9nm at 1kV. It is designed to access an extremely high-resolution (XHR) 2D and 3D characterization, nano-prototyping, and higher quality sample preparation. When to use the Focused Ion Beam (FIB) micro-sectioning technique? FIB Focus Ion Beam is a must-have technique not only for wafer acceptance, design changes validation, and failure analysis but also for validating the internal die characteristics capable of showing any potential long-term reliability issue, valid not only for integrated circuits but also especially applicable on MEMS.
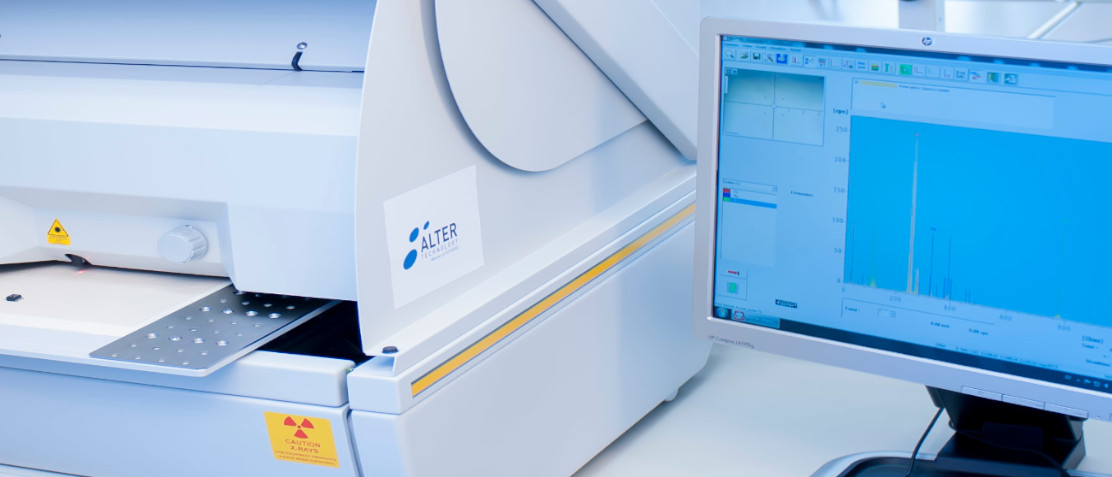
X-Ray Tomography: What is the purpose of radiographic inspection? The purpose of X-ray inspection is to detect internal physical defects which are not otherwise visible in electronic components. The radiographic techniques reveal such flaws as the presence of foreign objects, improper interconnecting wires, inhomogeneities in materials, improper positioning of elements, voids in the die attach material or encapsulating, etc.

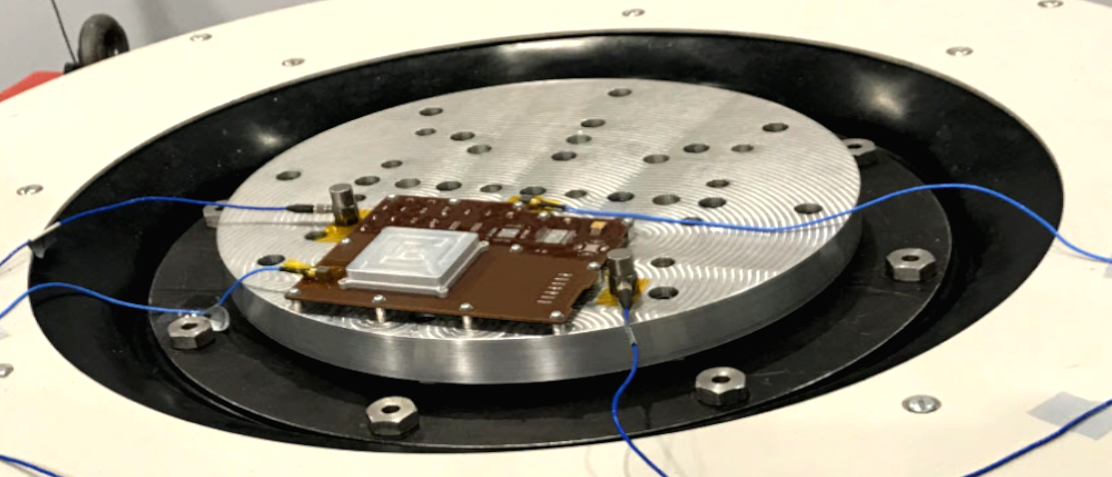
Vibration tests
Vibration tests aim to evaluate the effect caused on component parts by vibration in a specified frequency range. The samples are subjected to testing under different conditions, as described below, in accordance with the respective applicable standards. The test conditions differ in terms of duration, frequency range, vibration waveform, amplitude, etc.
RGA Residual gas analysis: Residual Gas Analysis, also known as Internal Gas Analysis (IGA), is a destructive test performed to examine the atmosphere inside hermetically sealed devices. Why do a Residual Gas Analysis? The test procedure is based on milling the component so that the gas content can be extracted and subsequently analyzed. The measurement of the moisture content is of particular interest as it allows to determine whether the moisture criteria are met. Also, the measurement of all the other gases might be of interest as the gas content reflects upon the quality of the sealing process and can cause long-term reliability problems such as corrosion, fogging, leakage, etc.
EVI External Visual Inspection: What Is an External Visual Inspection? The EVI is usually the key tool to assess the quality of parts, e.g., during a customer source inspection (Buy-off).
Internal Visual Inspection: The aim of the internal visual inspection, a destructive test, is to demonstrate that the internal materials, design, construction, and assembly of EEE parts are following the applicable acquisition document. This test can also be performed to examine unsealed devices before capping to verify that no damage and defects have appeared due to prior testing (Pre-cap Inspection).
Related Post
GET IN TOUCH TODAY!
Do you have questions? Contact us!
- Space-Grade components available for immediate delivery - April 10, 2025
- Exclusive stock on doEEEt: How to access and request - April 10, 2025
- Managing EEE components for LEO and lower cost space missions - December 17, 2024


0 comments on Constructional Analysis Tests