Radiographic X-Ray Inspection
- Posted by doEEEt Media Group
- On July 2, 2021
- 0
Alter TECHNOLOGY is specialized in applying X-Ray Inspection (2D and 3D tomography) to Failure Analysis, Destructive Physical Analysis, Constructional Analysis, Counterfeit Detection, Lot Screening or Process Development, and Verification. X-Ray inspection often is used in conjunction with other investigative techniques, particularly Scanning Acoustic Microscopy (SAM).
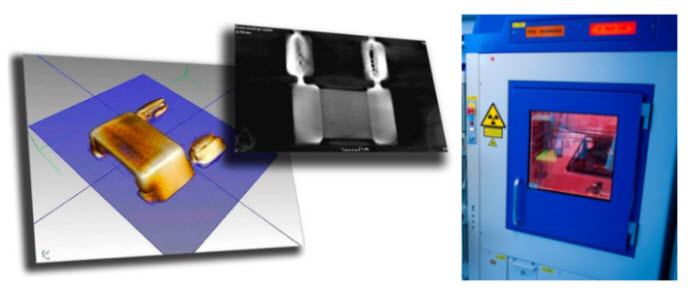
The purpose of a Radiographic Inspection is to nondestructively detect defects that are not otherwise visible: improper positioning of parts, broken elements, inhomogeneities in materials, foreign objects… In particular, and for microelectronics samples helps us a better look at die attachments and wire bonding patterns or better identify die-attach voiding and inconsistencies in wire-bond integrity, either of which can play a significant role in decreasing product reliability.
This type of analysis involves a qualified and multidisciplinary team specialized in different disciplines such as Materials Science, Physics, Electronics, and Aerospace Engineering. This team is supported by more than 30 years of experience in Alter Technology in EEE testing and engineering.
Applications and X-Ray Inspection services
X-Ray Inspection is widely used in:
- Aerospace industries. ESCC 20900 – ASTM E1742 – …
- Military defense. MIL-STD-883, TM 2012 – MIL-STD-750, TM 2076 – MIL-STD-202, TM 209 – …
- Manufacturing industries.
- Automotive industries.
- Transport industries.

Capabilities
- Accurate, fast, and repeatable inspection. EEE parts, RF harness, and PCB assemblies.
- High-power, a high-resolution inspection of very small features.
- 2D X-Ray Inspection.
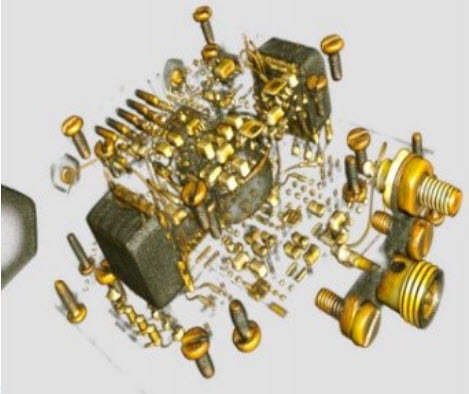
- 3D X-Ray inspection. Computed Tomography (CT) with an in-depth 3D examination of inspection items via virtual cross-sections and layers. Dimensions and angles measurement.
- Multi-Area Void Calculation.
- Extended BGA X-Ray inspection. BGA ball broke pad connection in CT, BGA head on a pillow, misaligned balls and pads, BGA with voids in 3D review,…
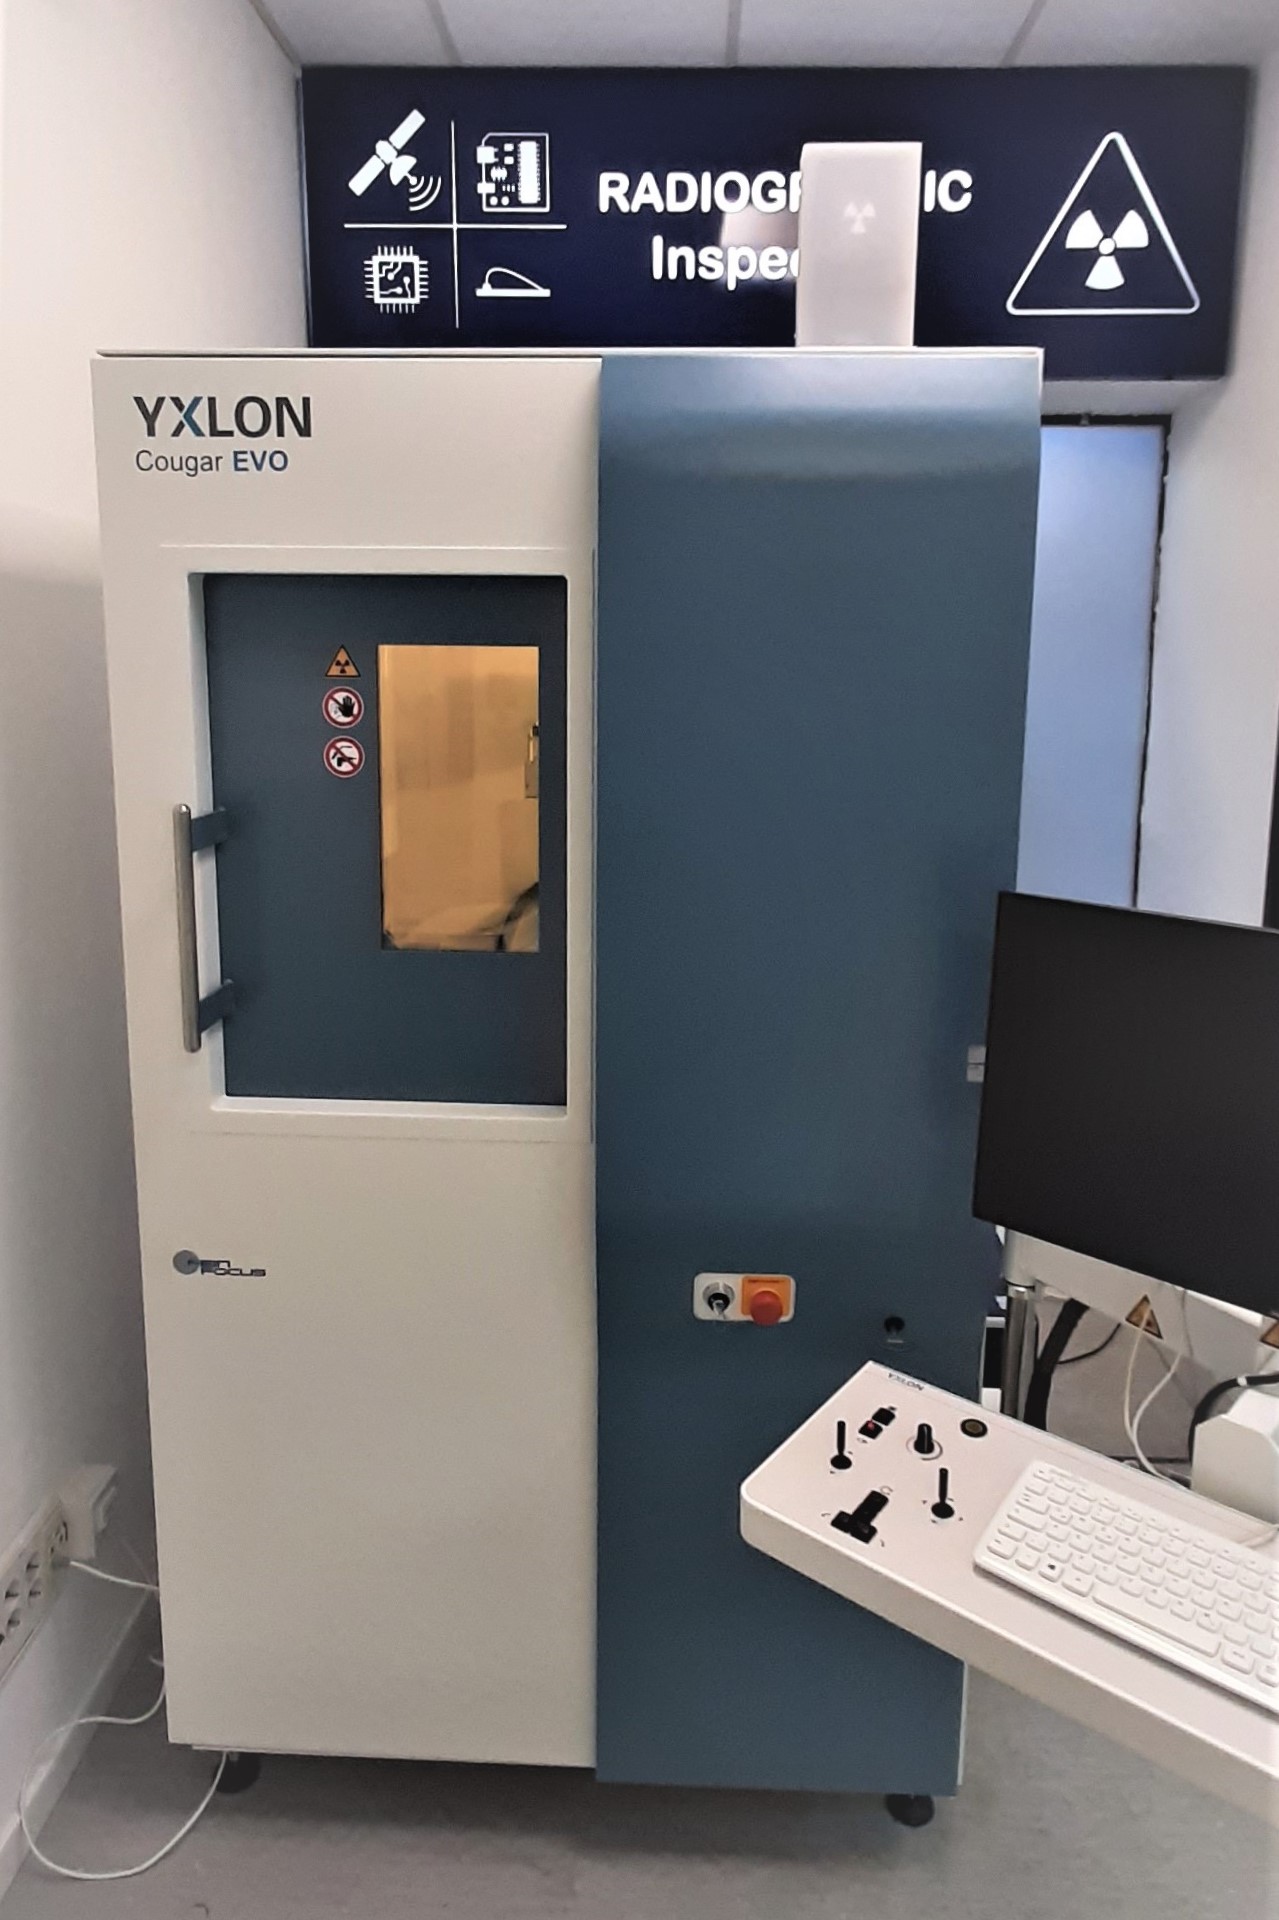
YXLON Cougar EVO: A high-resolution X-ray Inspection system
Radiographic inspection is based on X-ray radiation. This radiation can be produced by accelerating electrons under a certain voltage in a vacuum tube so that they are emitted from a cathode and collide into an anode called ‘target’ producing X-rays. Part of this radiation penetrates the sample under examination and the rest is absorbed or scattered. After the radiation interacts with the sample, it reaches a detector and an image of the sample is formed. One of the most valuable advantages of radiographic inspection is that is a non-destructive technique which allows to detect internal defects in the components such as voids in the die attach, foreign objects or crossed wires without damaging the components. Some test standards that are applicable to this inspection are MIL-STD-883, Method 2012 and ESCC 20900.
ATN has recently obtained a high-resolution X-ray system YXLON Cougar EVO. This system possesses an accelerating voltage range between 25 and 160 kV and a beam current range between 0.01 and 1 mA. Moreover, it has a high-sensitivity detector that allows a detailed inspection with reduce dose. That detector also presents a long lifetime due to radiation resistance. Furthermore, the system has an eHDR filter which allows to emphasize difficult structures. Thanks to that filter a higher number of defects than before can be detected.

The opportunity to carry out 2D as well as 3D radiographies is among one of the system capabilities. The system performs a high-quality laminography (micro3Dslice) which offers a precise 3D visualization. Micro3Dslice presents an alternative to traditional micro sectioning that reduce the cost of the inspection along with the time spent. In addition, the YXLON Cougar EVO system possesses a wide range of tools such as VoidInspect which enables to calculate voids automatically. The voids in complex soldering design can also be analyzed with 2D Multi Area Void Calculation (MAVC) function.
X-Ray Inspection in Virtual Lab
Virtual Labs conducts your tests, organizes your data into a smart database using Predictive Analysis. Real-time control, lowest price, comparative analysis.
Thanks to the Virtual Lab tool, the customer can devise his own test solution specifically adapted to the actual needs and requirements and monitor test results in real-time, without the need to wait to complete all the activities. Therefore, the final user can adapt the inspection areas and planes depending on the initial results. He will also receive feedback and advice from our test engineers during or thereupon inspection.
Detailed inspection records can be accessed immediately after the activity completion. Thus, manufacturers and users gain valuable time to develop contingency plans and solutions to address detected anomalies.

GET IN TOUCH TODAY!
Do you have questions? Contact us!
- Space-Grade components available for immediate delivery - April 10, 2025
- Exclusive stock on doEEEt: How to access and request - April 10, 2025
- Managing EEE components for LEO and lower cost space missions - December 17, 2024


0 comments on Radiographic X-Ray Inspection