Characteristics of X-RAY Inspection
- Posted by doEEEt Media Group
- On April 26, 2022
- 0
Radiographic X-Ray Inspection is based on X-ray radiation. This radiation can be produced by accelerating electrons under a certain voltage in a vacuum tube. They are emitted from a cathode and collide into an anode called ‘target,’ producing X-rays.
Part of this radiation penetrates the sample under examination, and the rest is absorbed or scattered. After the radiation interacts with the sample, it reaches a detector, forming an image of the sample. One of the most valuable advantages of radiographic inspection is that it is a non-destructive technique that detects internal defects in the components such as voids in the die attach, foreign objects, or crossed wires without damaging the parts.
Test standards that apply to this inspection are MIL-STD-883, Method 2012, and ESCC 20900.
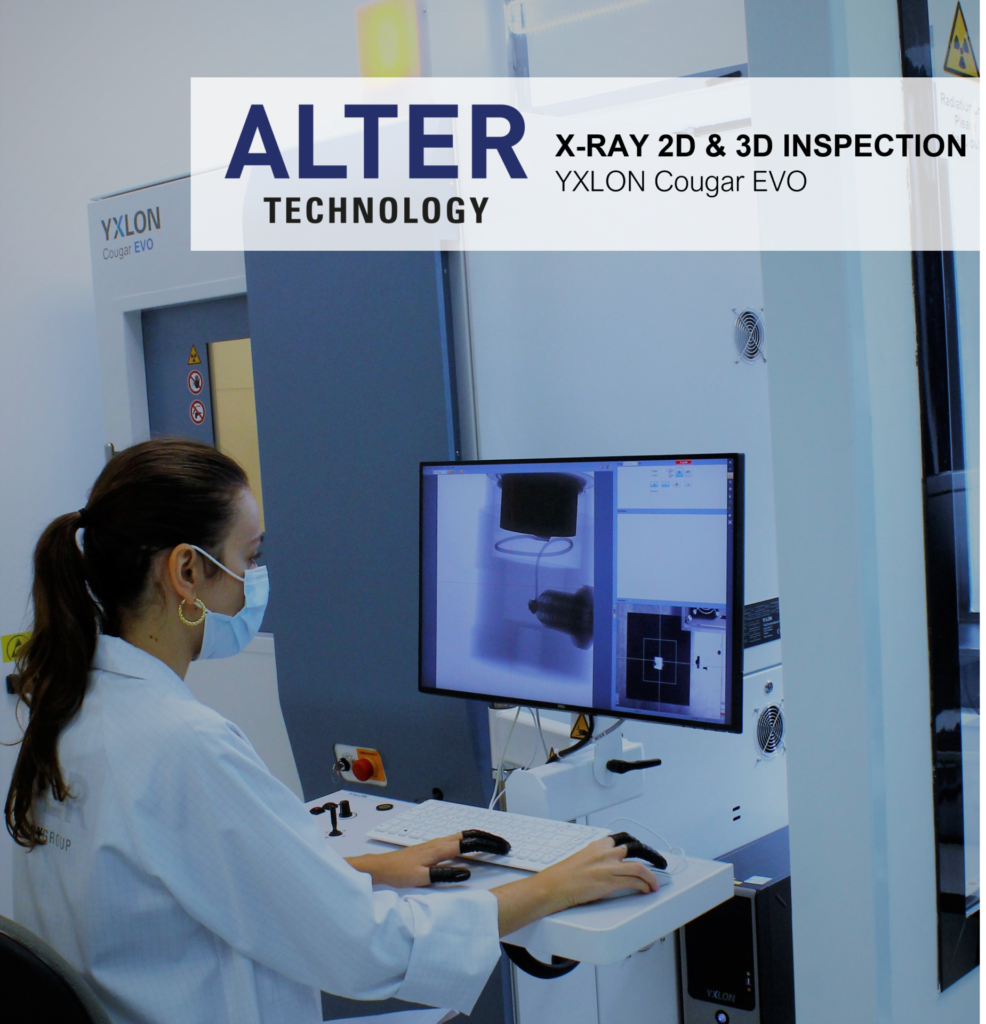
The laboratory recently acquired the COUGAR YXLON is state-of-the-art equipment with the best features that offers a myriad of advantages that allow our engineers and technicians to extract maximum functionality from the device, providing our clients with reliable results.
Check out some of its most essential features.
Accurate, fast, and repeatable inspections
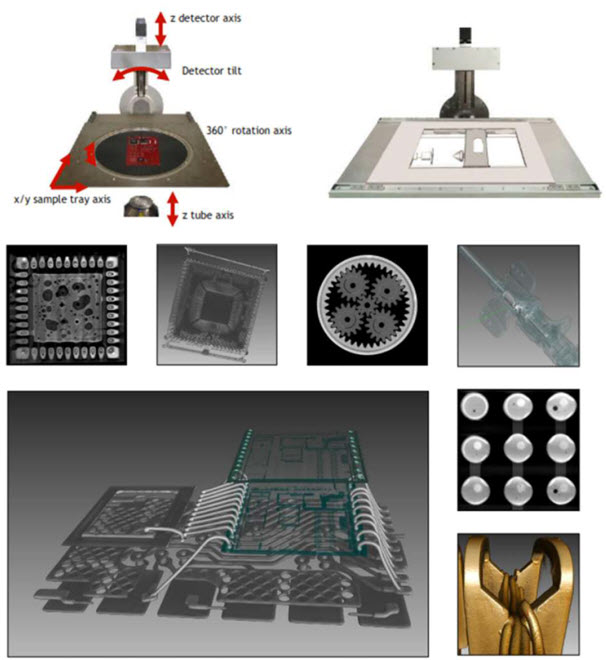
The COUGAR YXLON equipment has a 5-axis manipulation system that allows fast and complex inspections:
- Mobile tray within the x/y axis.
- The mobile detector is on the z-axis.
- 140o tilting
- 360o high-precision rotating
A software attribute that ensures a fast and high-quality inspection for large amounts of samples is the AXI workspace that allows performing automatic X-ray inspections; by setting a Grid or pattern, the inspection process is streamlined by reducing inspection time.
The easy-to-use µCT Function is adapted to END and industrial inspections, permitting short scanning and reconstruction times, switching from 2D to 3D mode within 1 minute. Integrated real-time 3D volume rendering and 3D visualization with superior image quality and quality.
Y.FGUI Software Opt. μCT QuickScan provides speedy, 3-minute image acquisition and reconstruction results.

High-power, high-resolution inspection
Our equipment possesses the latest technology, performing quality inspections with a resolution up to nanometres thanks to its high power anode and its new YXLON FF.CT software and the Y.FGUI Software Opt. Quality Tool module.
The advanced open tube microfocus equipment provides the highest resolution, the CMOS digital flat panel and the CMOS digital flat panel detector. Both with unique features unique in this class of industrial systems.
Detectability less than 1 µm, high-resolution digital detector, with 127 µm pixel pitch and 1024 x 1024 pixel matrix.
High power Anode, with a 5 µm tungsten layer on a 250 µm highly conductive material support. It offers 2 to 3 times higher resolution at a high power factor than standard anodes. It is an optimal target for high-power applications with high resolution.
The new YXLON FF.CT software is the ultimate tool for obtaining the highest quality CT images. The new reconstruction and visualization software with powerful algorithms minimizes all artifacts and exceeds the highest expectations in the high-end visualization of CT images.
The module Y.FGUI Software Opt. Quality Tool offers the possibility to monitor system performance and image quality based on calculations according to ASTM E2737-10.
- Allows regular performance monitoring.
- Perform tests of image quality parameters, determining detector resolution by calculating the basic spatial resolution.
- Calculation of signal-to-noise ratio and signal level.
- A wizard controls the set for easy use.
GET IN TOUCH TODAY!
Do you have questions? Contact us!
2D and 3D X-Ray Inspection
2D and 3D tomography image acquisition delivers the classic 2D X-Ray Inspection and delivers our clients the opportunity to approach their devices in a completely new way with our high-quality 3D reconstruction and visualization.
The µCT Function switches from 2D to 3D mode within 1 minute, integrating real-time 3D volume rendering and 3D visualization with superior image quality.
Y.micro3Dslice Semicon Scanning Software for high-resolution 3D scans is a 3D reconstruction and visualization software with high geometric magnifications of small volumes of interest.
By using slice-to-slice technology, non-destructive inspection of larger areas is possible, and substantial cost savings are achieved as samples are no longer destroyed by microsection. Even better, these slice-by-slice images can be automatically analyzed as easily and quickly as a 2D image, showing porosities at interfaces clearly, the key to reliability.

Extended BGA X-Ray inspection
BGA X-Ray inspection includes checking each ball’s mass’s shape, size, and consistency by using the Y.FGUI software, detecting BGA ball broken pad connection in CT, BGA head on the pillow misaligned balls and pads, BGA with voids in 3D review, etc.
The Y.FGUI software provides reliable and straightforward BGAs inspections by automatic web detection and solder ball tagging for clear identification. Some of the functions available are:
- Detailed high magnification analysis and X-ray overview image.
- Highlighting of the grid of solder balls to inspect: the software offers the possibility to automatically pre-select the solder balls based on the acquired X-ray image.
- Solder ball contour analysis: the wizard contours the solder balls within the entire grid.
- Adjust results: the results values get calculated based on an algorithm defined using a test image for the BGA analysis. In the algorithm, 100% is assumed to be the ideal value of each parameter.
Related post
- Space-Grade components available for immediate delivery - April 10, 2025
- Exclusive stock on doEEEt: How to access and request - April 10, 2025
- Managing EEE components for LEO and lower cost space missions - December 17, 2024

0 comments on Characteristics of X-RAY Inspection